MQTT
MQTT stands for Message Queuing Telemetry Transport. It is a lightweight protocol that allows devices to communicate with each other with very little overheard. When creating IOT devices that may need to send consistent and frequent data back and forth, MQTT allows communication without the sacrifice of bandwidth. This reduces latency in between the distribution of the latest information being provided by a topic provider. If you are running a Mac, there is an app called MQTT Box that can act as a client to test.
MQTT relies on the publish, subscribe and topic concepts.
A brief overview of the MQTT concepts can be found on the mosquito man page here: https://mosquitto.org/man/mqtt-7.html
In summary, you can have a system providing information that can be classified as a Topic (ie. What is current temperature, is gate open or closed…). The data being represented in a Topic can be presented in a hierarchy. An example is a temperature gauge topic might look like this home/Floor/room/tempGauge01. A MQTT client can choose to Subscribe to the Topic at any level of the hierarchy. In this example, the home can be specified, the floor of the home and a specific room with its temperature gauge in it. MQTT clients can also publish data to a broker instead of just receiving data from one.
Setting up a quick MQTT Client and Broker
First thing to do is to create a MQTT server. In order to do that, we will install a version of MQTT called ‘mosquito’. This application is installed on the MacBook and a Ubuntu virtual machine. Details about mosquitto can be found here.
Mosquito can be installed easily if you have Homebrew for Mac installed. If you don’t, you can easily install Homebrew on the Mac by navigating to this link and running the install from Terminal command line. The install for Mosquito on Ubuntu is even easer. A walkthrough is provided here.
After a successful install, terminal should report that it has been installed.
The Mosquito service usually starts after the install. If the systems its installed on are rebooted, a startup script may be edited on each OS automatically start after reboot.
Back to the MQTTBox application to set up a new client.
In this example, we will have 2 systems, the MacBook with Mosquito and MQTTBox application installed and Ubuntu with Mosquito installed.
The MacBook will publish a ‘tempGauage’ topic and the Ubuntu machine will be subscribed and listening to it.

SUBSCRIBING
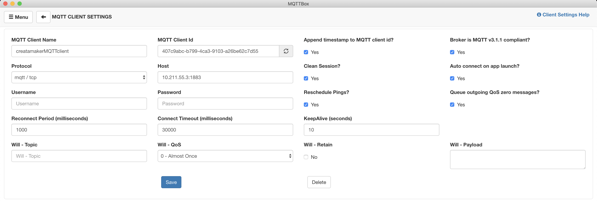
Create a new MQTT Client, for now we can just enter the hostname and port of the Ubuntu system running the MQTT server.
MQTTBox shows ‘Connected’ if the hostname and port are correct.
Since this is the client, we will subscribe to a Topic. The Topic we want to get data on will be tempGauge. In the real world we would know ahead of time the topics we could subscribe too.
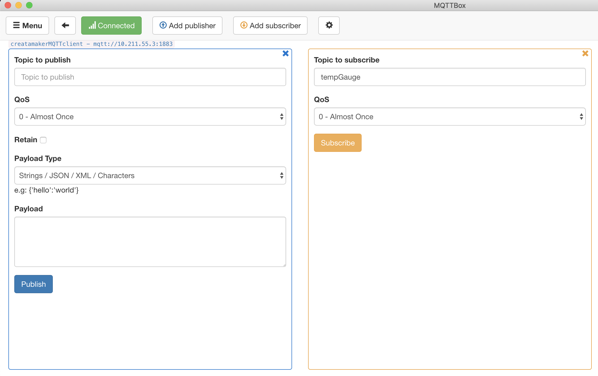
On the broker (the Ubuntu system) we use the following command line to publish data about the Topic ‘tempGauge’. In this case, the command line is setting the tempGauge to ‘Temp:102F’
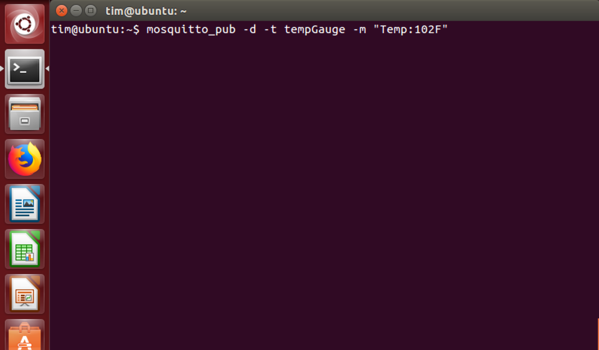
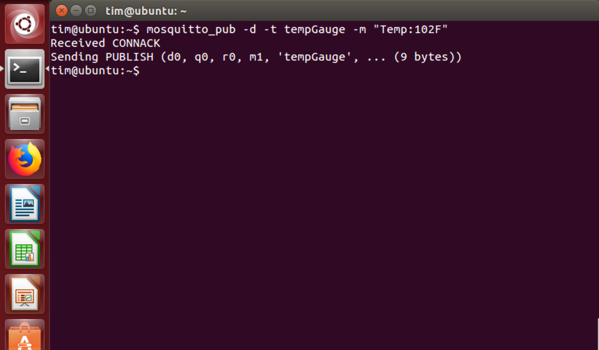
A connection acknowledgement is posted back to the terminal when the command is sent and received back from the client.
The publish data is sent along with the size of the payload.
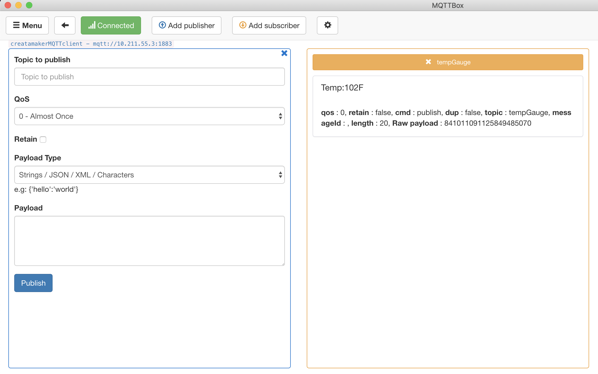
Back in MQTTBox client we can see the receipt of the data via the listener (subscription).
PUBLISHING
Let’s try it the opposite way now. The MacBook and its MQTTBox client will now Publish its own topic called lightStatus.
The payload, or value, of the Topic will be ‘Green’.
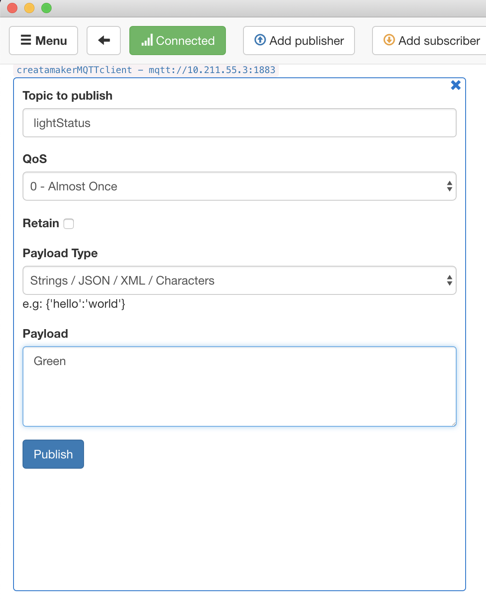
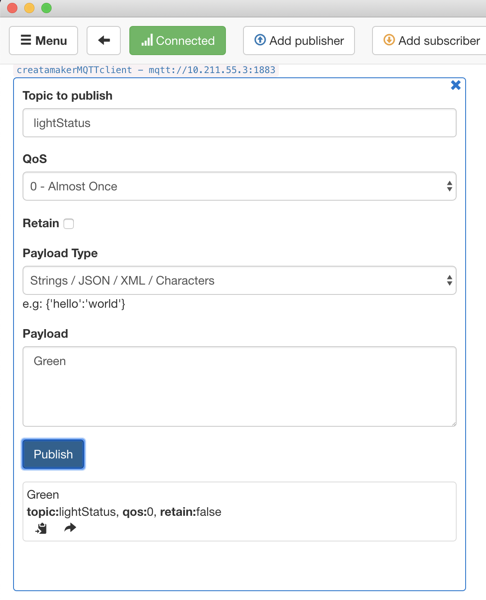
Once the Publish button is clicked, a label appears below showing the payload and the properties of the published message.
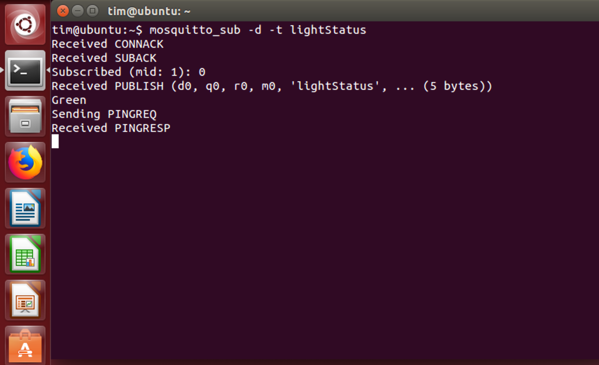
Back on the Ubunutu system, we set the machine up to now subscribe to the lightStatus Topic that will be listening for a message under that topic.
The command line is: mosquitto_sub -d -t lightStatus
This subscription must be initialized in order for subsequent published topics to be received.
