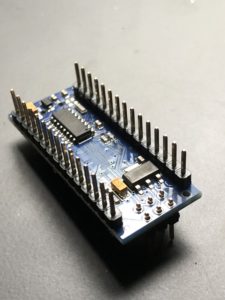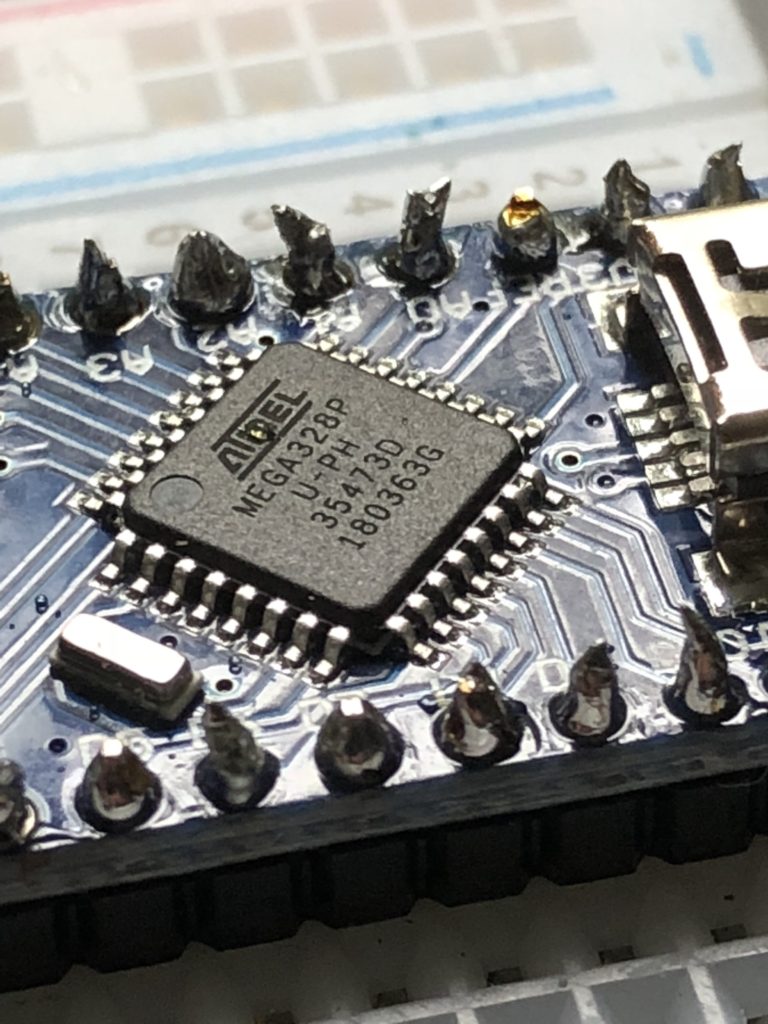
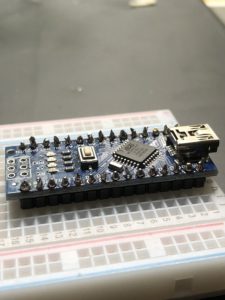
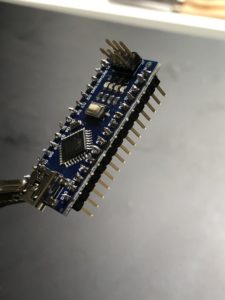
Arduino Mega Nano Solder
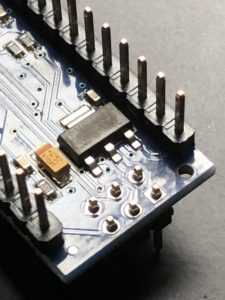
Due to a generous donation by a fellow electronics aficionado, I received a professional soldering/desoldering machine. This would provide an indispensable tool for detailed electronic soldering was required. What better time to use in than to connect the GPIO pins to a new Arduino Nano MEGA328P microprocessor.
Thoughts on first attempt
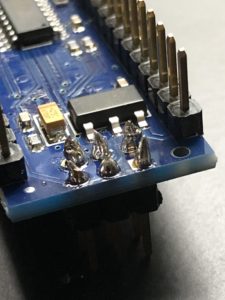
Admittedly, this was my first attempt to use the soldering machine and I figured the microprocessor board was a good introduction to it seeing as the pins were large and spaced out enough to be able to drop solder with ease.
Lessons were learned
The microprocessor was pressed into a breadboard to provide stability and allow the microprocessor to seat properly onto the pins. The soldering was tricky, no doubt. I should have watched a video on best practices, but I decided to wing it. Going pin by pin, I was able to drop solder on and pull it to the base of the board into a teardrop type shape. Don’t drop enough solder, and the bead just kind of hangs off the pin. Drop too much solder and you risk pin to pin contact. It seems better to be generous and then draw off excess solder than to try to gradually add more solder to a pin.

For the most part the shape of the solder was clean and separated from each pin. If a soldered pin was not clean, it could easily be reheated and drawn back into that desired ‘Hershey kiss’ shape. I have yet to test the board to ensure functionality, but the experience has me feeling better about soldering future.