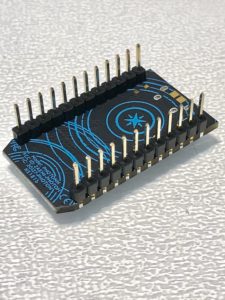
Particle Photon
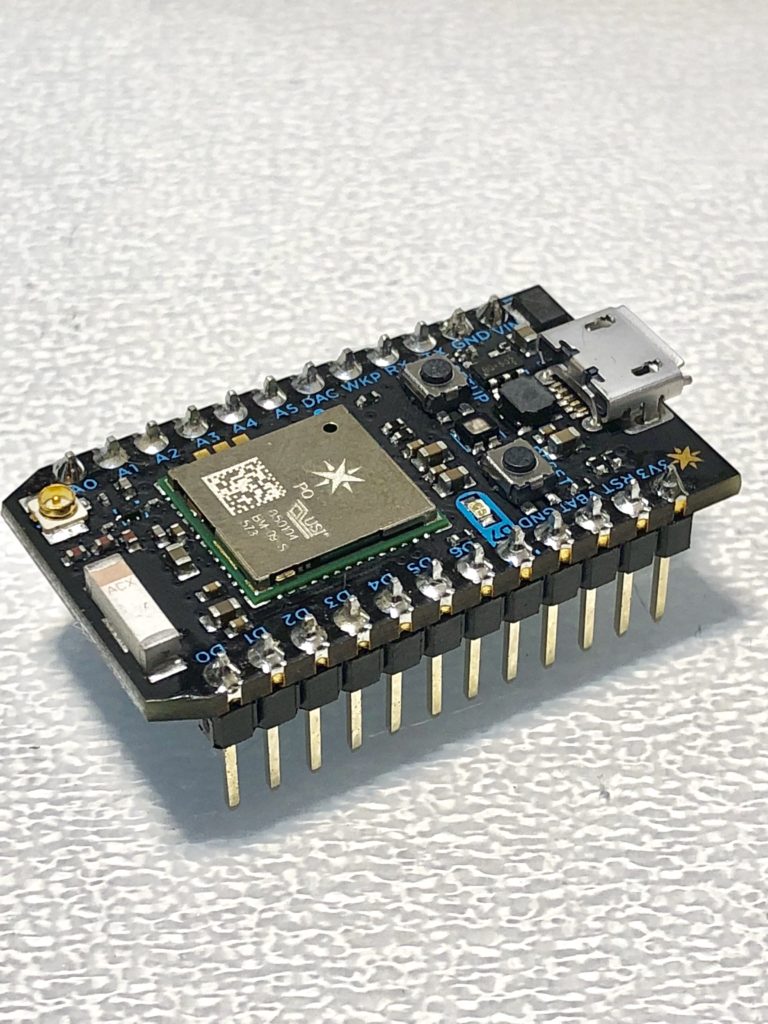
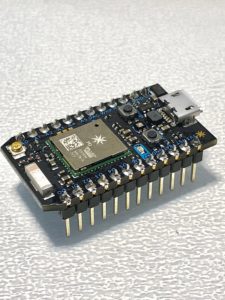
While browsing the various ‘mini’ form factor microprocessors, I stumbled across one called the Photon by a company called Particle. This particular device provided small scale microprocessor combined with WIFI capabilities and a pretty interesting cloud based UI for programing and flashing it remotely. The processor itself is a STM32 ARM Cortex M3 microcontroller that employs a reliable Cypress BCM43362 Wi-Fi chip. Since the WIFI is one of its biggest appeals, its important to note that is is operating on a 2.4 Ghz spectrum and does employ WPA and WPA2 encryption.
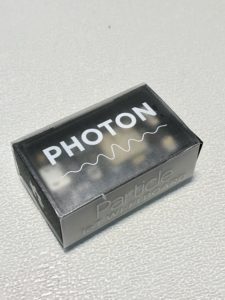
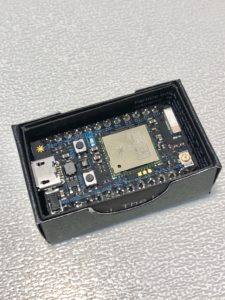
Small box, big potential
It came in a small and neatly packaged box with a translucent cover that provided a sneak peak to the tech contained within.
Connecting and setup
Documentation for initial setup of the device can be found on the Particle site here, but for now this is my experience.
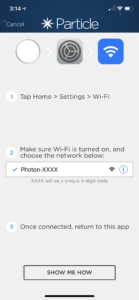
The power is provided via USB-C cable and can be used by plugging into a PC or laptop. First time setup can be done using your smartphone and the Particle app.
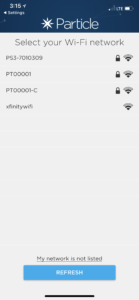
First you must select your WIFI network.
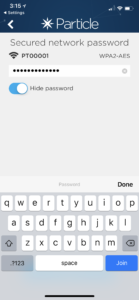
Next you need to go into your smartphone settings and select the WIFI signal being broadcast by the Photon itself.
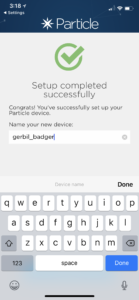
After you connect to the device you can provide it a name. The device seemed to ignore the name I gave it after restarting it, so you may need to rename the Photon after any firmware updates.
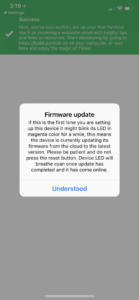
Now that the device is connected to the local network, it will check the Particle servers and notify if a firmware version is available. Updating it right away is highly advised.
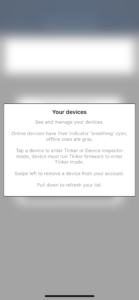
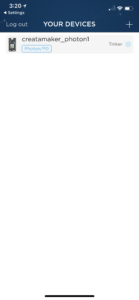
Once it the device is updated, it will show up in the Devices list on the Particle app. By now the status light should be ‘breathing’ a light cyan-ish colored glow. This means the device is connected and good to go. From here it can be interacted directly using some software in the app called Tinker.
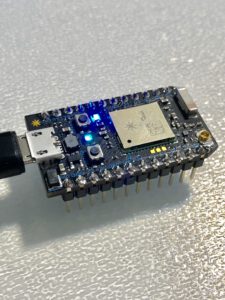
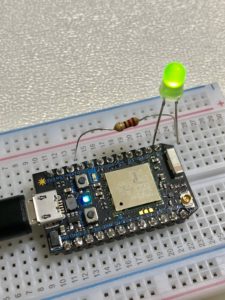
The light glowing in the middle of the 2 small buttons is the connection status light. The color of the light indicates its current state. The small light off to the side and corner of the WIFI chip is another LED assigned to the D7 pin that can be interacted with.
Testing 123
Using the Tinker software on the app we make the D7 LED light blink to ensure code executes successfully on it.
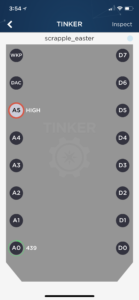
In the example they provide, the D7 LED pin is selected on the app and assigned the digitalRead function.
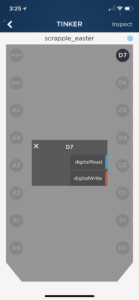
Now when tapping the D7 you are sending a ‘LOW’ or ‘HIGH’ switch (binary on/off). This will turn the LED light off or on using the app on you phone. Pretty neat!
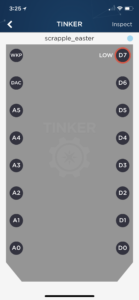
The ‘D’ side pins are Digital and the ‘A’ side supplies us with Analog pins.
External LED Blink
The Digital D0 pin was used in another example to make a external LED brightness by dimming it based on input via a slider on the app assigned to that pin. This dimming affect is possible since the D0 pin is a pulse width modulated (PWM) pin.
The Tinker app truly is a unique way to interact with the microprocessor straight out of the box and setup is easy.
Particle Cloud
Taking it a step further, the cloud based IDE is not much different that many other IDE’s out there. The main difference is that you can specify you device and a token for it that allows you to flash your code directly to the Photon over the internet. Thats pretty handy.

Once you create an account and log into Particle Build Web IDE, you are presented with a typical workbench. The code is C++ (yea, finally those college C++ classes will pay off).
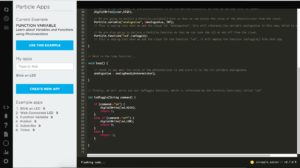
You will have to assign your device to your account in order to flash to it in the ‘Add Device’ section. There is a token that is in the Settings. There is a token that can be used in a HTML call to the device for authentication. For example, there is a project called ‘Control LEDs over the ‘net’ to blink a LED light using HTML page local on computer with On/Off buttons. These send the state commands to the device via a REST API that sends in the token and the PUT command via a HTML form to the device.
Another example uses a simple photoresistor to read and display light sense values in real time via a loop.
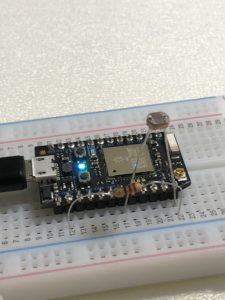
Flashing the code to loop through the detected photoresistor values and display them on the smartphone Particle app was simple a quick. The photoresistor was connected to both the A0 and A5. The A5 provided the power and the resulting data captured by the code from the photoresistor was written to the A0 pin.
Looking forward to more experiments with the microprocessor. Not often you get so many great features with such a small chip!