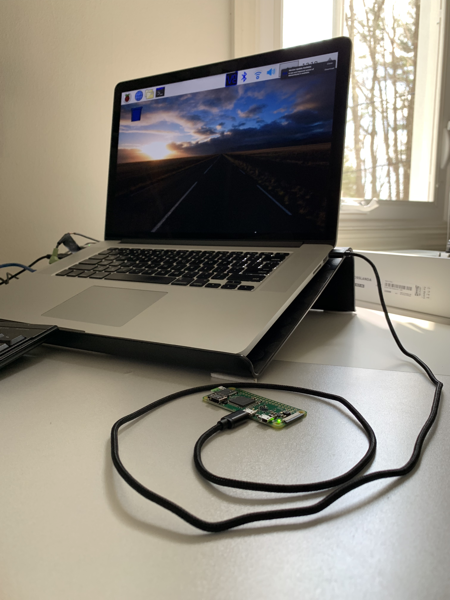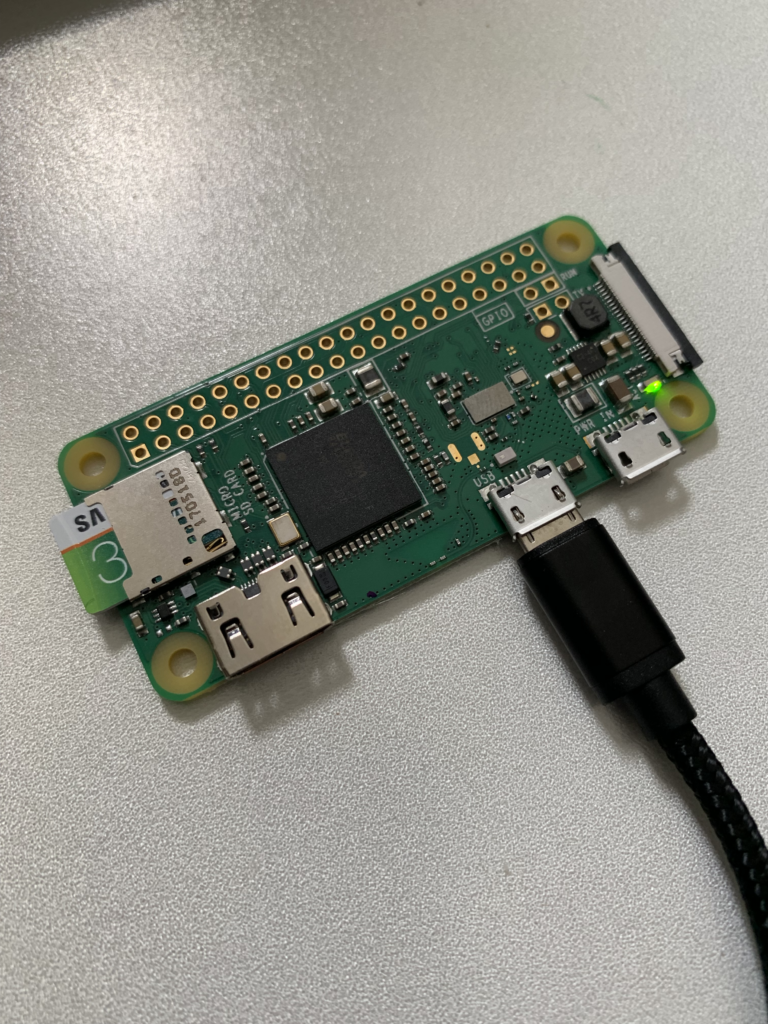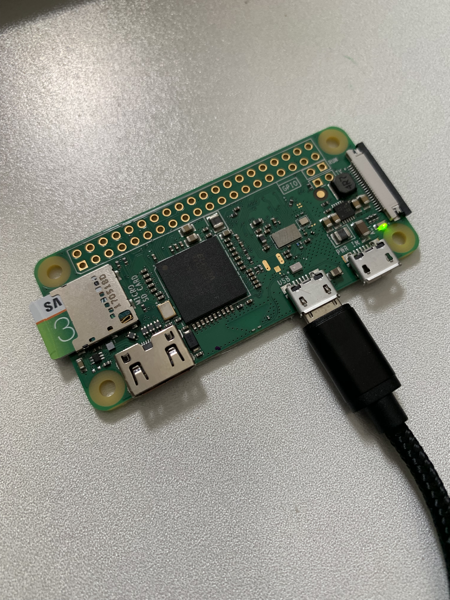
I put off setting up my new Raspberry PI Zero W for awhile due to the fact that the peripheral support was limited to micro-USB. I didn’t have a micro-USB to female USB type A adapter. Many of the tutorials online show how to setup SSH to access the PI remotely, but they still said you needed the USB peripheral adapter.
Then I found this blog post https://desertbot.io/blog/setup-pi-zero-w-headless-wifi by Mitch Allen.
This approach allows the bootable SD card to be accessed on another PC to enable SSH. Then a micro-USB to male USB Type-A cable to both power and access the Raspberry PI device. These types of cables are much more common around the house than a micro-USB to female USB Type-A adapter. Other devices like PS4 controllers, HTC Vive controllers and even chargers use the micro-USB to Type-A USB.
After following the blog post, you should be able to SSH into the Raspberry PI Zero W while it is plugged into a laptop.
To take it a step further, we can enable the wireless functionality and VNC capability on the Raspberry PI Zero W.
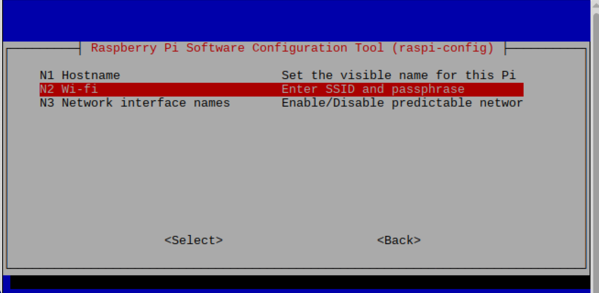
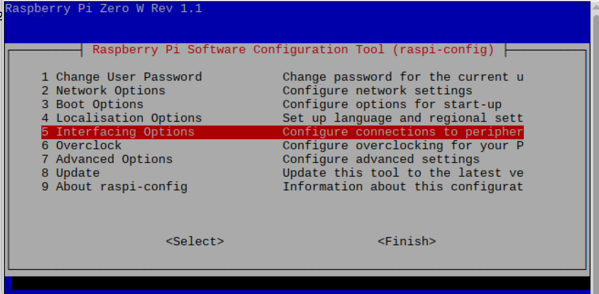
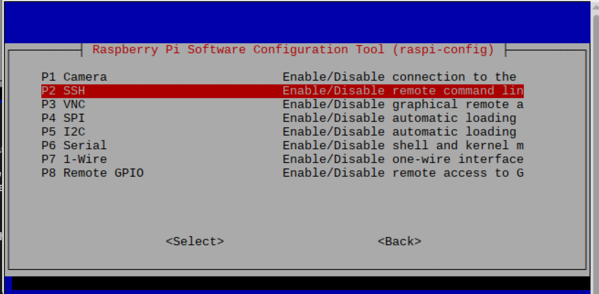
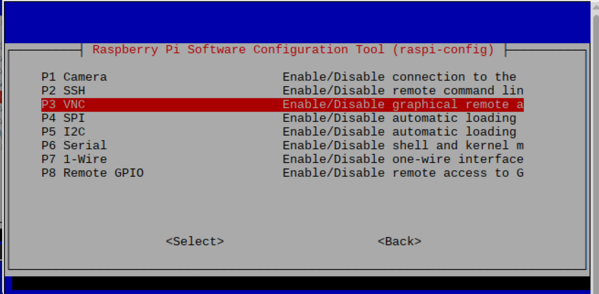
While in the SSH connection to the Raspberry PI, we can run ‘rasp config’ and turn on the wireless, SSH and VNC.
Enable WiFI
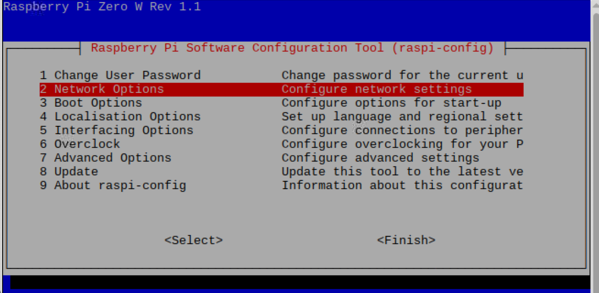
Enable SSH
Enable VNC for Remote Desktop
Now that wireless is on SSH and VNC is enabled, we can use a program like VNC Viewer to access the Raspberry PI Remote Desktop.
But before we do that, it would be a good idea to make the wireless IP address of the device static so that the router DCHP service does not change the Raspberry PI Zero IP address every time we connect. This would make it difficult to reconnect using VNC Viewer and add the hassle of trying to look up the IP address with nslookup or via the router it is connected wireslessly too.
To do this, we refer to another post on assigning static IP on the Raspberry devices. The post is from modmypi.com: https://www.modmypi.com/blog/how-to-give-your-raspberry-pi-a-static-ip-address-update.
Since we are connecting wirelessly, we want to make the wlan0 config static.
In command line SSH connection enter: sudo nano /etc/dhcpcd.conf
After editing the file according the the blog, it should look like this all the way at the end of the dhcpcd.conf file:
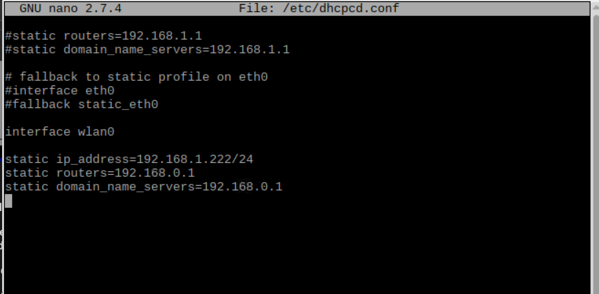
Make sure to ‘sudo reboot’ the device to apply the changes.
Now on another computer, enter the static IP address you just set in the dhcpcd.conf file.
Accept the key and enter the username and password. If you didn’t update the default username and password on the Raspberry PI, then it should still be user: pi and password: raspberry.
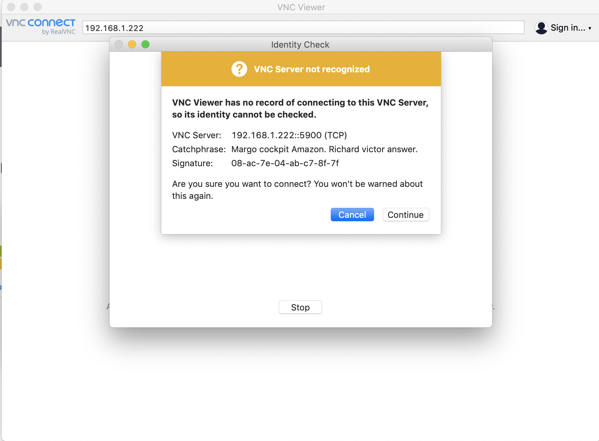
Bingo! We are in.
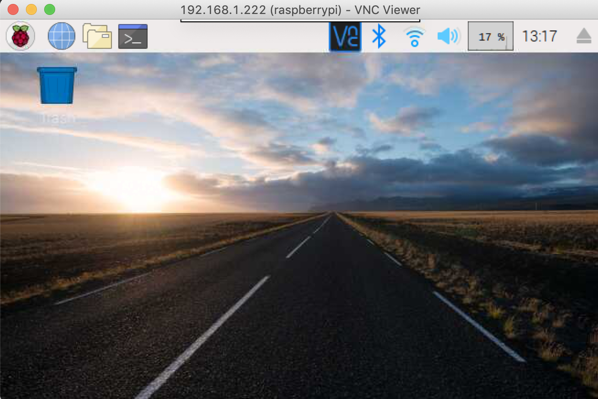
Now with just 1 cable we can power the device and access it on the home network by any device with either SSH or Remote Desktop!
Remember to change that Raspberry PI default password for extra security!
